How To Create Your Own Cruise Facebook Group
Step One
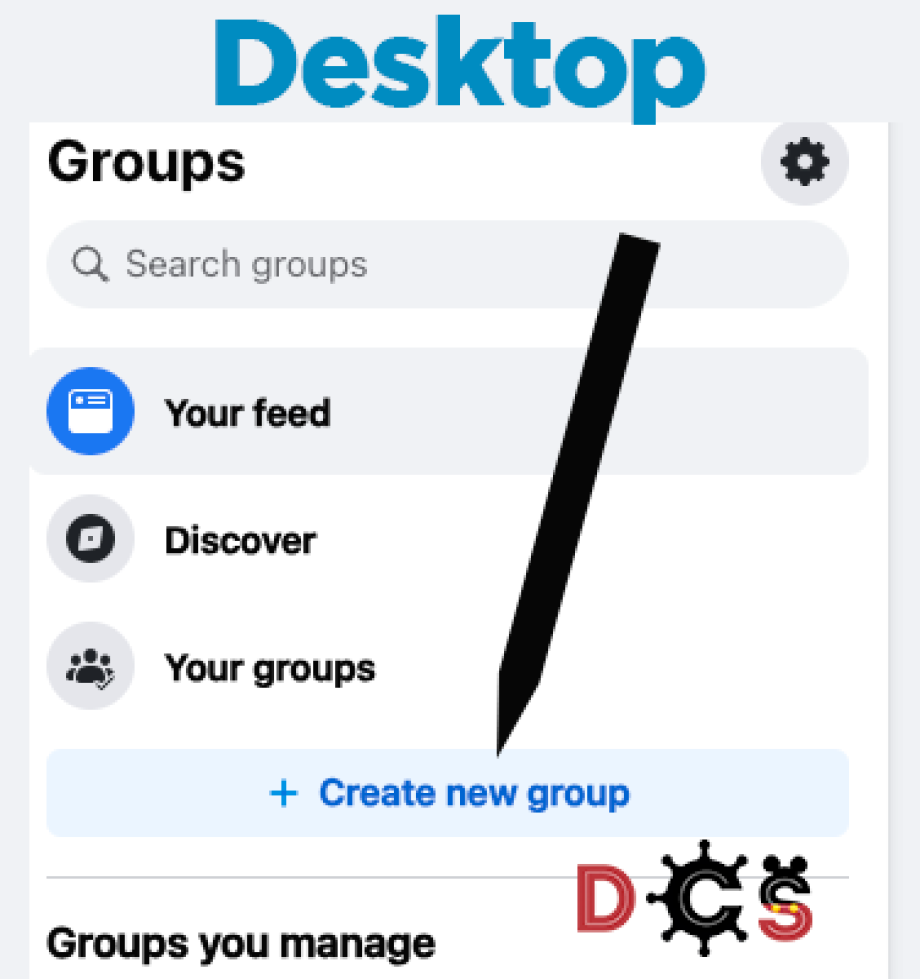
If you are on a desktop, click Groups in the left hand menu and then click “Create New Group” on the left hand menu.
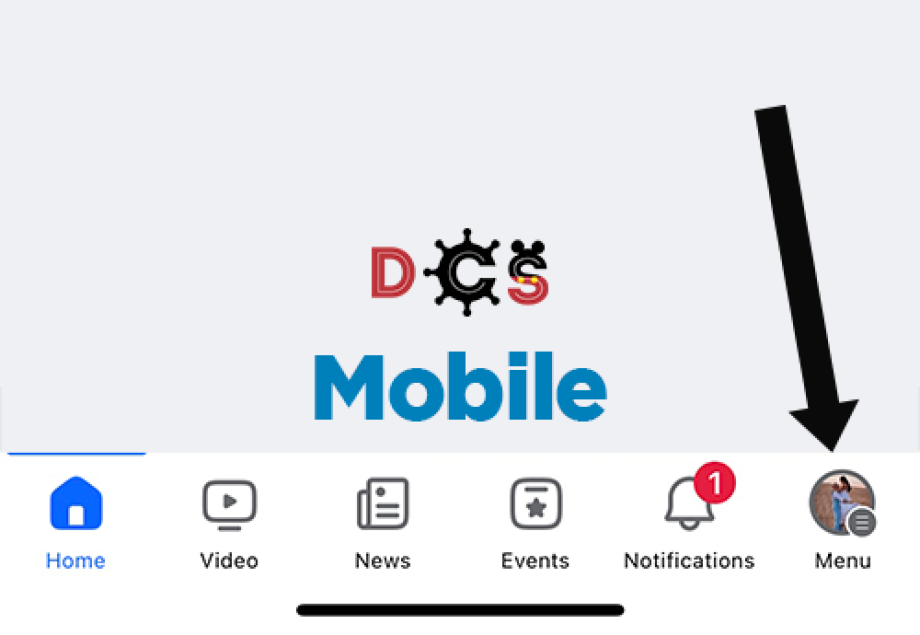
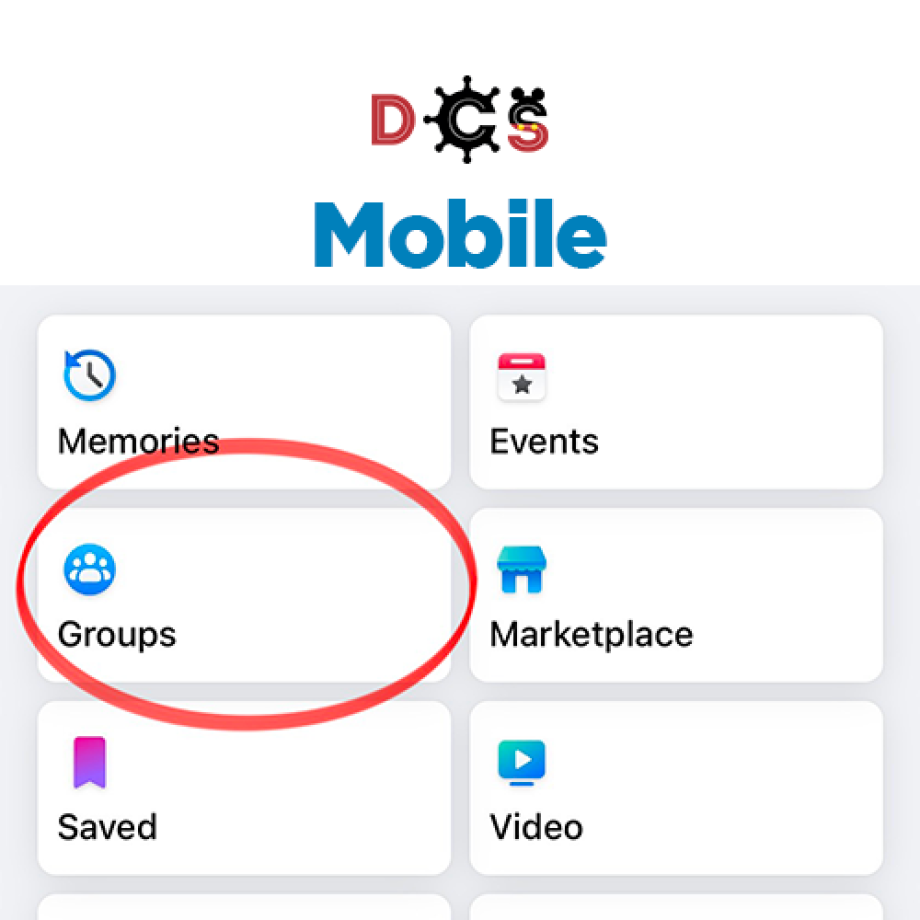
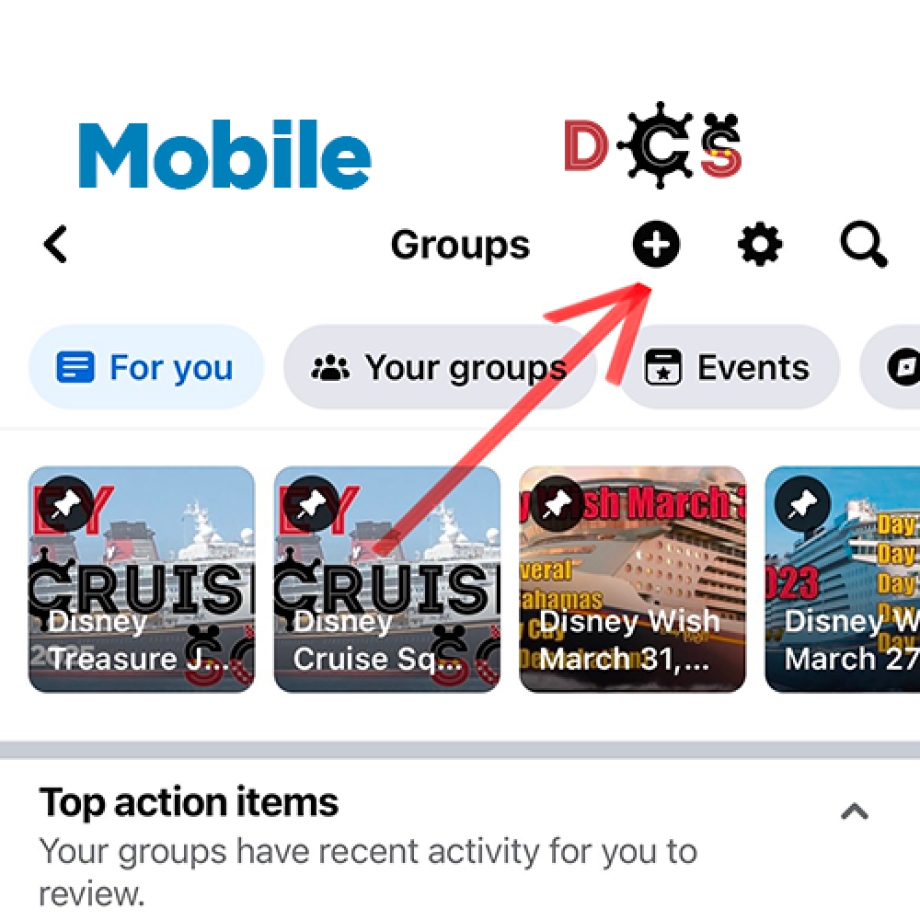
If you are on mobile, click on Menu in the lower right, then click Groups, and finally click on the plus button at the top right.
Step Two
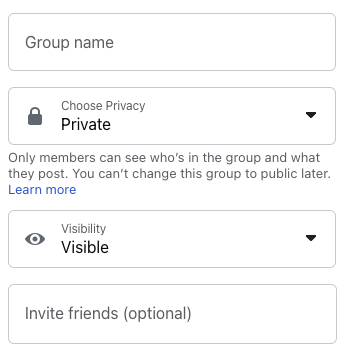
Give your group a name. The standard group name format is as follows: Disney SHIP NAME, SAIL DATE, YEAR.
Example: Disney Wish, March 27 2024
Try not to add anything extra as most people will search Facebook using the format above.
When setting the privacy we recommend setting it to private and visible. This allows people to search for the group, but not see anything in the group until they join.
Step Three
Facebook will ask you to invite people, add a cover photo, add a description, and create a post. These are all “optional” but help make your group.
A good cover photo will be 1640 pixels wide by 856 pixels tall. You can go as basic or as detailed as you like. Is your cruise a themed one? Add that. Want to add your ports? Go for it.
A good first post will just be to welcome members to the sailing and set up a “group rules” post. Think of how you want your group to operate and what things you want people to follow.
A good description for the group is simply the sailing info and to remind people to look at any featured posts.

Step Four
The next step is to set up Membership questions. Facebook allows you to create up to three questions you can ask people that want to join your sailing. This is a vital step to help weed out fake profiles and spam bots.
The questions don’t even have to be related to sailing. You can ask them to name their favorite Disney character, favorite movie, solve 124+200, and more. If a pending member doesn’t answer questions or answers obviously wrong answers simply decline them from joining your group!

Step Five
The last step is to get your group listed on the major Disney Cruise Facebook Groups. Each group has their own method for how to get your group added to their list. Make sure to follow the rules for each group to maximize the visibility of your group.
As of now there are three great resources for finding Facebook groups:
Congratulations
You have just created your Facebook Group! Make sure you check out all of our DCL Guides on fun things to do in your group. Remember there is no right way to run your group. Some admins will post daily, while others will post once a week. For most people a good group is one that encourages people to engage with the content and build online friendships before they meet on the cruise ship.


